Explore the decorated apparel industry and the process of making customized garments.
Screen printing is the process of applying a design onto a surface by pushing ink through a stenciled mesh screen. The industry is ever-changing, evolving, and expanding. A celebrated art form has transformed into a multi-billion dollar industry and proves to be an essential part of in-person advertising for consumers and businesses alike.
A BRIEF HISTORY
Screen printing dates back to China during the Song Dynasty (960-1279 AD) as a way of putting designs onto fabrics, with the art form making its way to Europe in the 18th Century. Over time, screen printing grew traction and popularity and saw advancements and inventions to improve the process.
Some of the world’s most famous artworks were born from screen printing, with Pop Artists like Andy Warhol using screen printing for contemporary artworks in the 1960’s. Eventually, the art style inspired American entrepreneur Michael Vasilantone to create his patented rotatable multi-color garment screen printing machine in 1960, which caused a boom in printed T-shirts that continues to this day.
THE PRINTING PROCESS
The screen printing process is one of the most versatile printing processes used today. However, there’s a lot more to it than simply pushing ink through a screen. Printers must ensure a seamless process that produces high quality results for their customers, meaning every step is crucial to success.
“There’s so many little things that go into it,” says Brock Birce, Founder of Funky Ink Prints, a family business owned and operated by Birce. Birce comes from a long line of printing professionals and prints everything himself!
Here’s a basic step-by-step guide to get an idea of how printers like Birce bring their designs to life!
Step 1: Create The Design
The printer starts by taking their design and printing it out onto transparent film, which is used to create the stencil.
Step 2: Prepare The Screen
Printers must choose a mesh screen that caters to the design and texture of the fabric being used. Then, they must coat the screen with a photopolymer light sensitive emulsion. Once dry, they center the film face down on the screen.
Step 3: Expose The Emulsion
The acetate sheet with the design is laid onto the screen with the emulsion, then exposed to a bright light that hardens the areas with the emulsion. The parts of the screen covered by the design remain liquid and are washed off during the next step.
Step 4: Stencil Is Created
Printers rinse away any un-hardened emulsion to create the stencil, usually using power washing equipment to do so quickly and easily. A clear imprint is left behind, and after drying the screen, the stencil is ready to use.
Step 5: Prepare The Item For Print
The screen is placed on the printing press, which can be an automatic or manual design. Most printers use a rotary carousel printer so they can work with several different screens at once.
To ensure that garments hold their position during printing, printers use adhesives to keep fabrics in place. This ensures that designs maintain perfect registration. Adhesives include flash, mist, and web adhesives that are sprayed onto the surface before the fabric is laid down, allowing garments to stay in place yet still removable after printing.
Mist adhesives deliver a light mist with a strong tack, allowing printers to keep light garments in place without leaving residue behind.
Our recommendation: ZenaStick Mist Adhesive
Web spray adhesives are ideal when printing on high-density fabrics like fleece or sweatshirts.
Our recommendation: ZenaStick Web Adhesive
Flash cure pallet adhesives provide the same benefits as regular mist or web adhesives, except they have high heat resistance and are safe on all types of fabrics. This means that fabrics will stay in place during the flash process without succumbing to the high heat of the flash unit. Flash cure units are used to prevent blending and ensure opacity in your designs by using heat to cure inks for instant drying.
Our recommendation: ZenaStick Flash Adhesive
“There are so many brands and types of adhesives out there. The important thing to note is how that spray tack reacts to 2 things: heat and pull,” says Birce. “Spray adhesives need to hold up well under heat and avoid pulling the fabrics, especially with the soft stretch on today’s shirts.”
Step 6: Press The Ink Through The Screen Onto Garment
Now it’s time for the fun part. The screen is lowered onto the garment, where ink is spread to the top end of the screen. A squeegee is used to pull the ink down along the length of the screen, pressing the ink through the open areas of the stencil onto the garment as the design is imprinted onto the fabric underneath.
Step 7: Finishing Touches
The final product is run through a flat dryer to create a smooth, lasting finish. Printers will check the product, and voila! The garment is printed and ready to go!
What Happens Now?
The mesh screens can be used, reused, and transformed into new stencils after a project is completed.
To create a new stencil on an existing screen, printers remove the emulsion using a reclaiming agent and stencil remover, leaving the screen clean and ready to reuse for a new design.
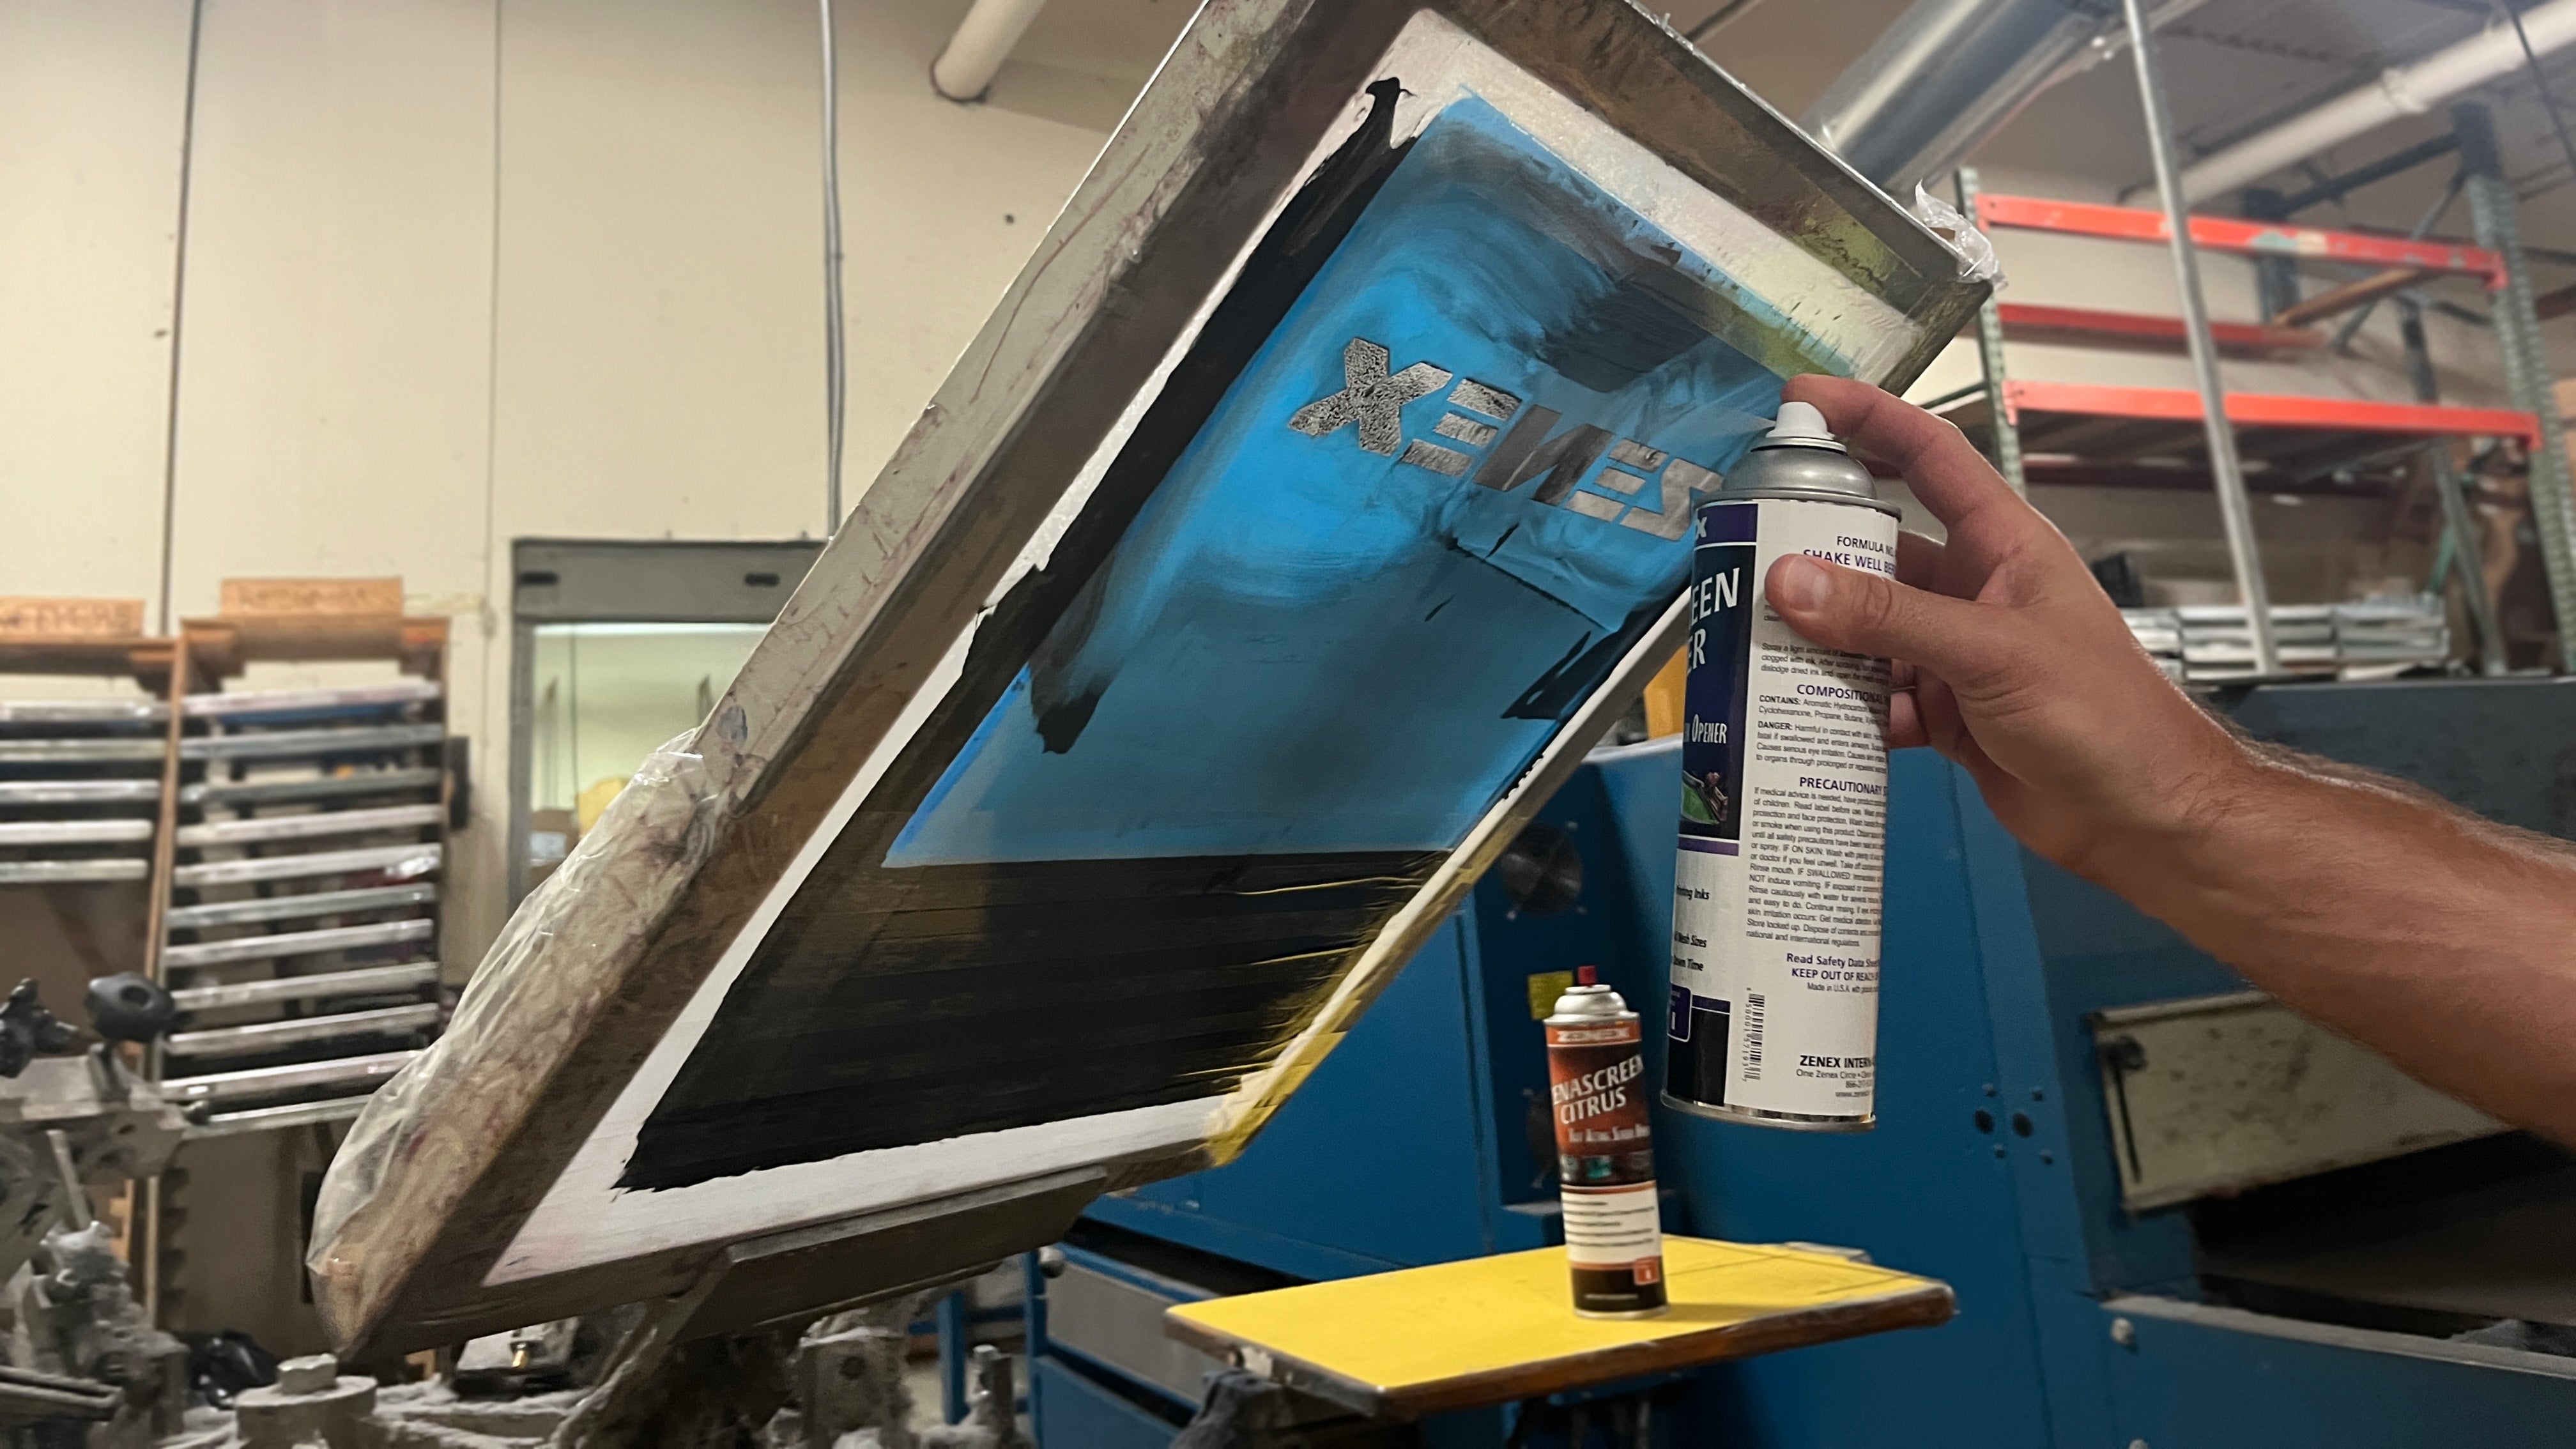
To reuse a stencil, printers will use industrial solvents to remove and unclog ink build-up on screens. These screen openers help printers revisit past designs as well as maintain perfect screens during large projects. A good printer will use screen openers that leave no residue, are fast-acting, and those that are suitable for use on screens in-line to reduce production downtime and keep production lines moving.
Our recommendation: ZenaScreen Opener and ZenaScreen Citrus
Brock weighs in on using screen openers in his business, saying “Most people use screen wash, but it tends to leave a residue on the screens. I use nothing but screen opener. There’s no residue, it’s quick and easy, and I can get right back to printing.”
THE FUTURE OF SCREEN PRINTING
The ancient art form of screen printing is used as a commercial printing process as well as an artistic medium, allowing artists and entrepreneurs to create custom pieces. One stencil can be used thousands of times to produce large orders of custom apparel and artworks.
As an industry, custom screen printing has outperformed the broader printing industry and has proven adaptable to changing market conditions. Consumer-facing businesses tend to purchase bulk orders of customized apparel to assist in branding through unique merchandise. The industry is highly competitive; that, coupled with the ongoing shift to digital channels, has undermined the industry. However, the revenue is expected to grow to $10.1 billion over the next five years into 2029.
AN EXPERT’S ADVICE:
“There’s so much to learn and realize. If you want to start, do a lot of research.” - Brock Birce
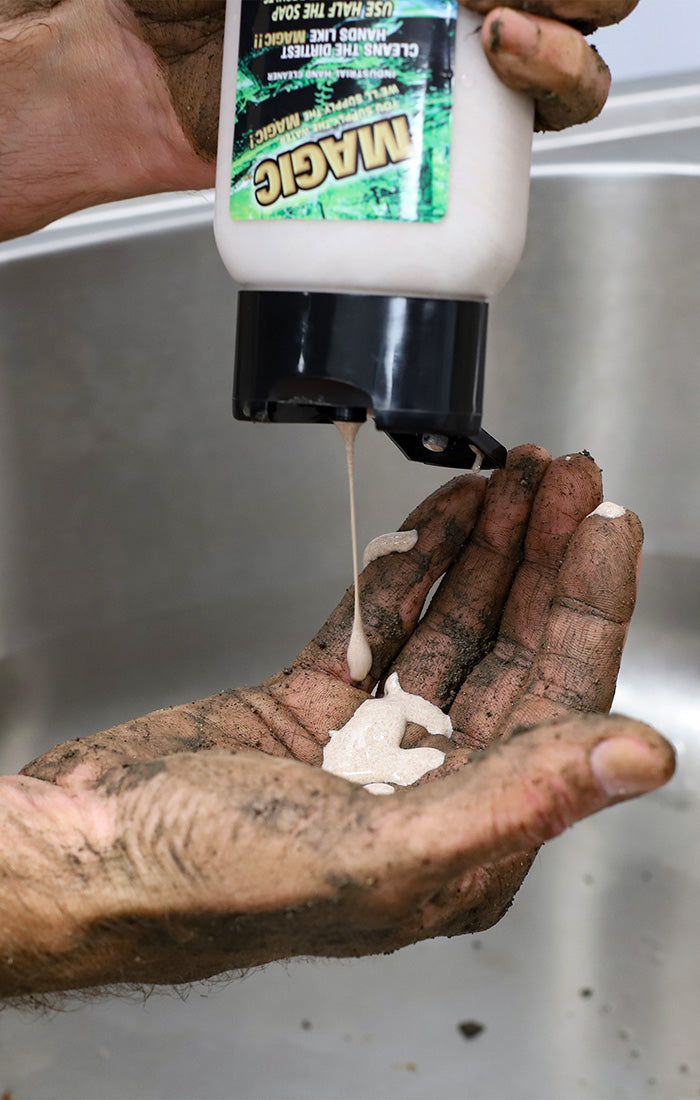
Here at Zenex International, we are committed to supporting our screen printing and decorated apparel partners through high-quality products and excellent support services. Zenex offers a comprehensive range of decorated apparel adhesive and screen opener sprays, lubricating products, and shop cleaning supplies for the market. Our materials keep production lines running smoothly and efficiently, facilities clean and protected, and your focus on producing high quality customized garments for your customers.
Featured products:
